Updating your branded login page have never been easier! You can now update your branded login page though the Admin side of NuORDER.
Follow the steps below for the proper update:
- Log into NuORDER.
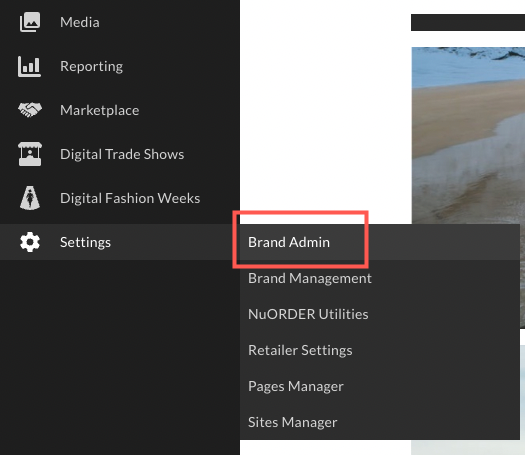
- In the left navigation menu, select Settings > Brand admin.
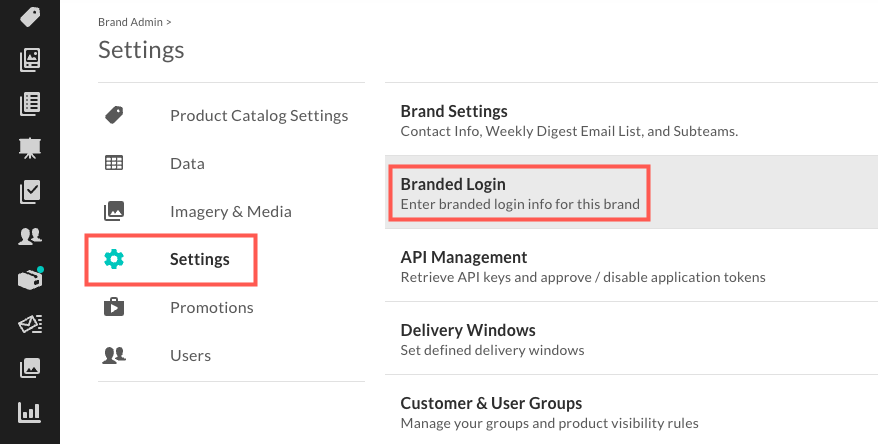
- Select Settings > Branded Login.
- On the Branded Login Info page, complete all the steps listed on the page.
- On the email field, input the email that you would like all request access inquiries to be sent.
Note: If you choose to leave this field blank, it will hide the Request access button from your branded login page. - In the Custom Brand URL field, your current brand URL will appear (e.g. NuORDER.com/yourbrand). To update it, contact our Support team.
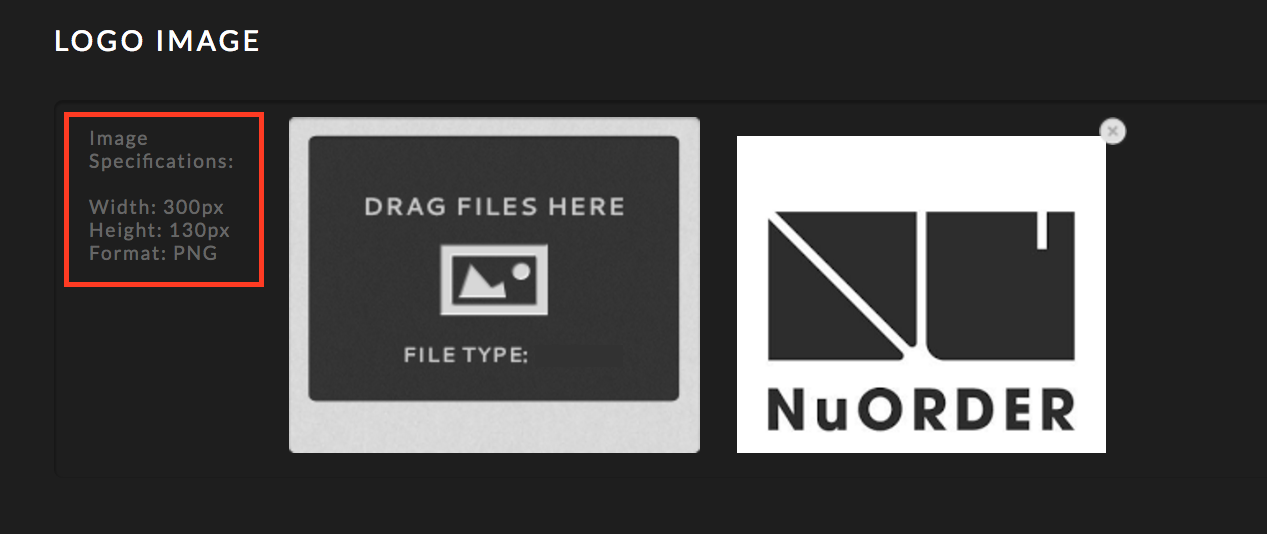
- For the logo section, follow exactly the image specifications listed on the page.
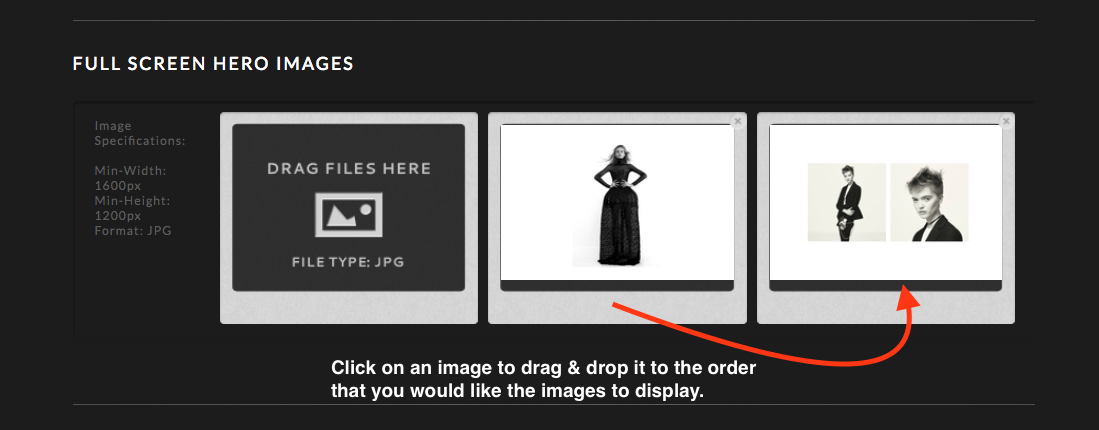
- You can now upload and update your background images by uploading them onto the Full Screen Hero Images section.
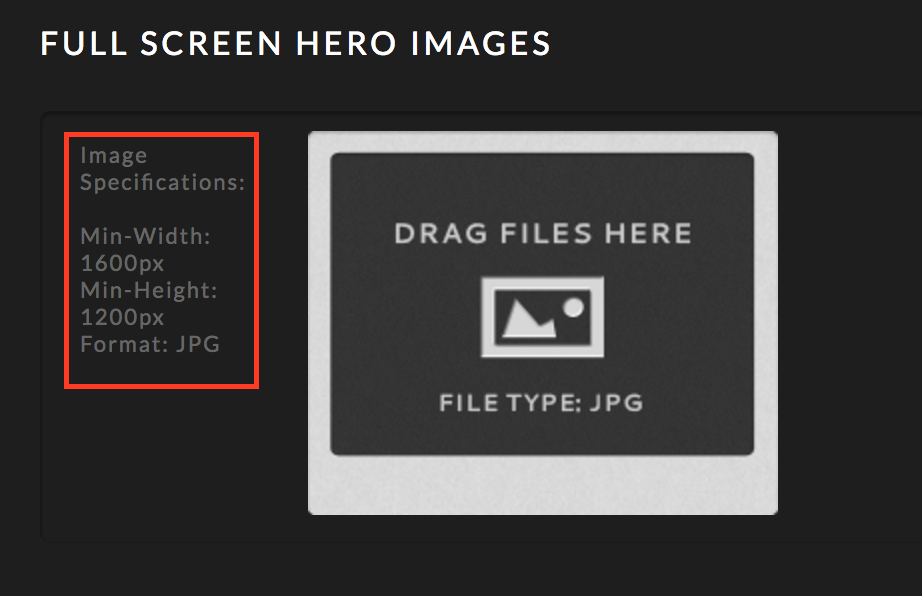
- To merchandise the order of your background images, select an image to drag and drop it in the order that you would like the images to display.
- Select Save at the bottom of the page.
- Refresh the page and your branded login page will be updated.
Here's an example of how the branded login page would look like:
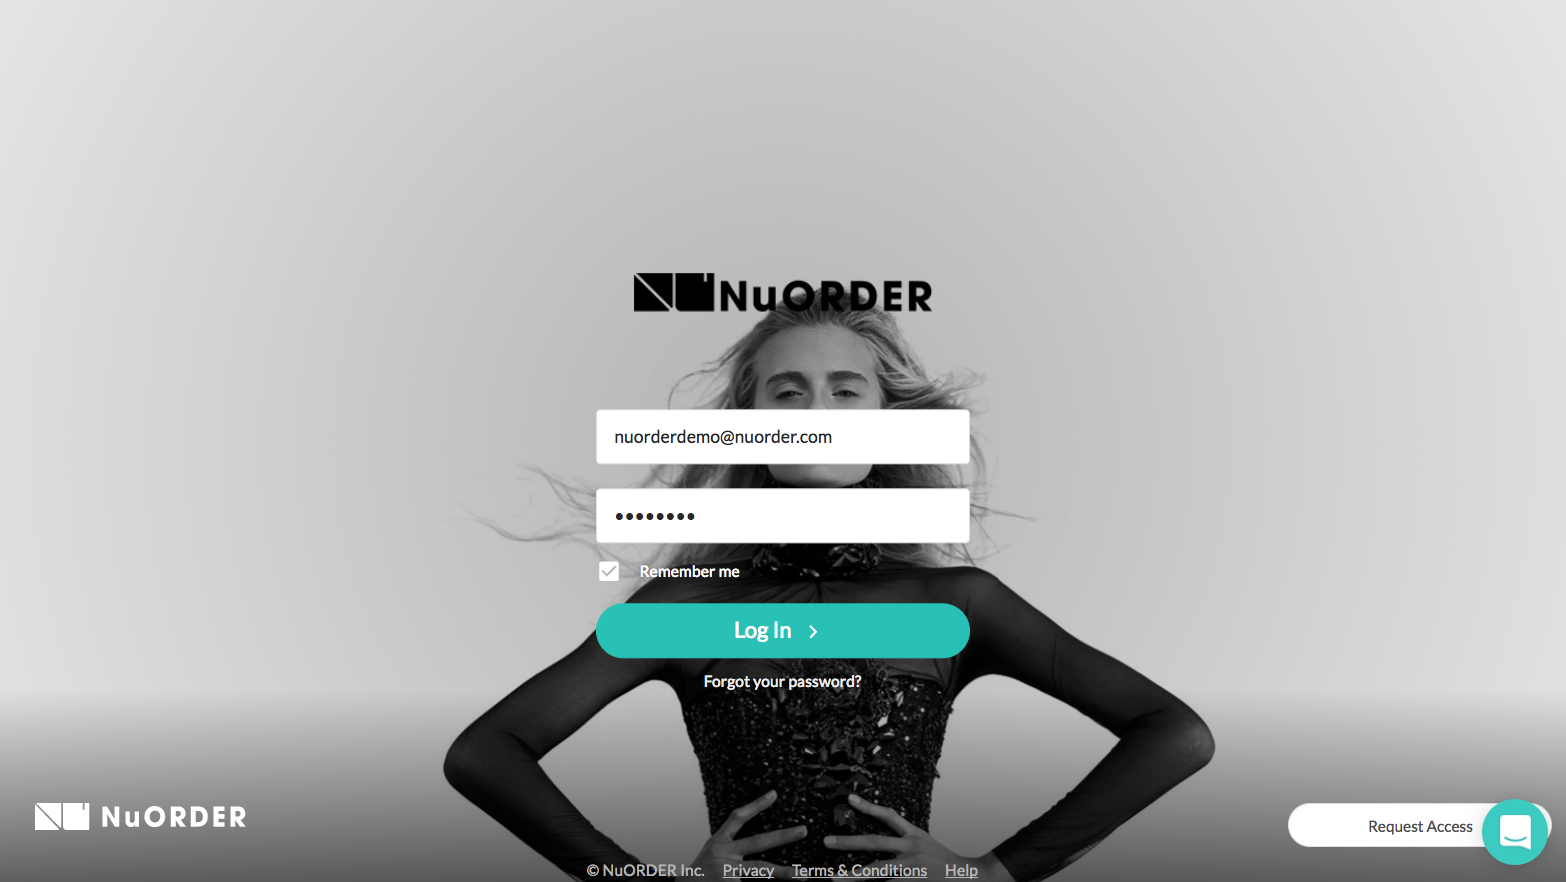
Note: Uploading multiple images will create a carousel affect on this page.
Add sales rep contact info to branded login page
Instead of directing buyers to the general NuORDER link, set up a branded login page with full screen imagery, a custom URL, and sales rep contact information.
Note: If you don't yet have a branded login page, see Customize your portal for what we'll need to set up your unique URL and then contact our Support team.
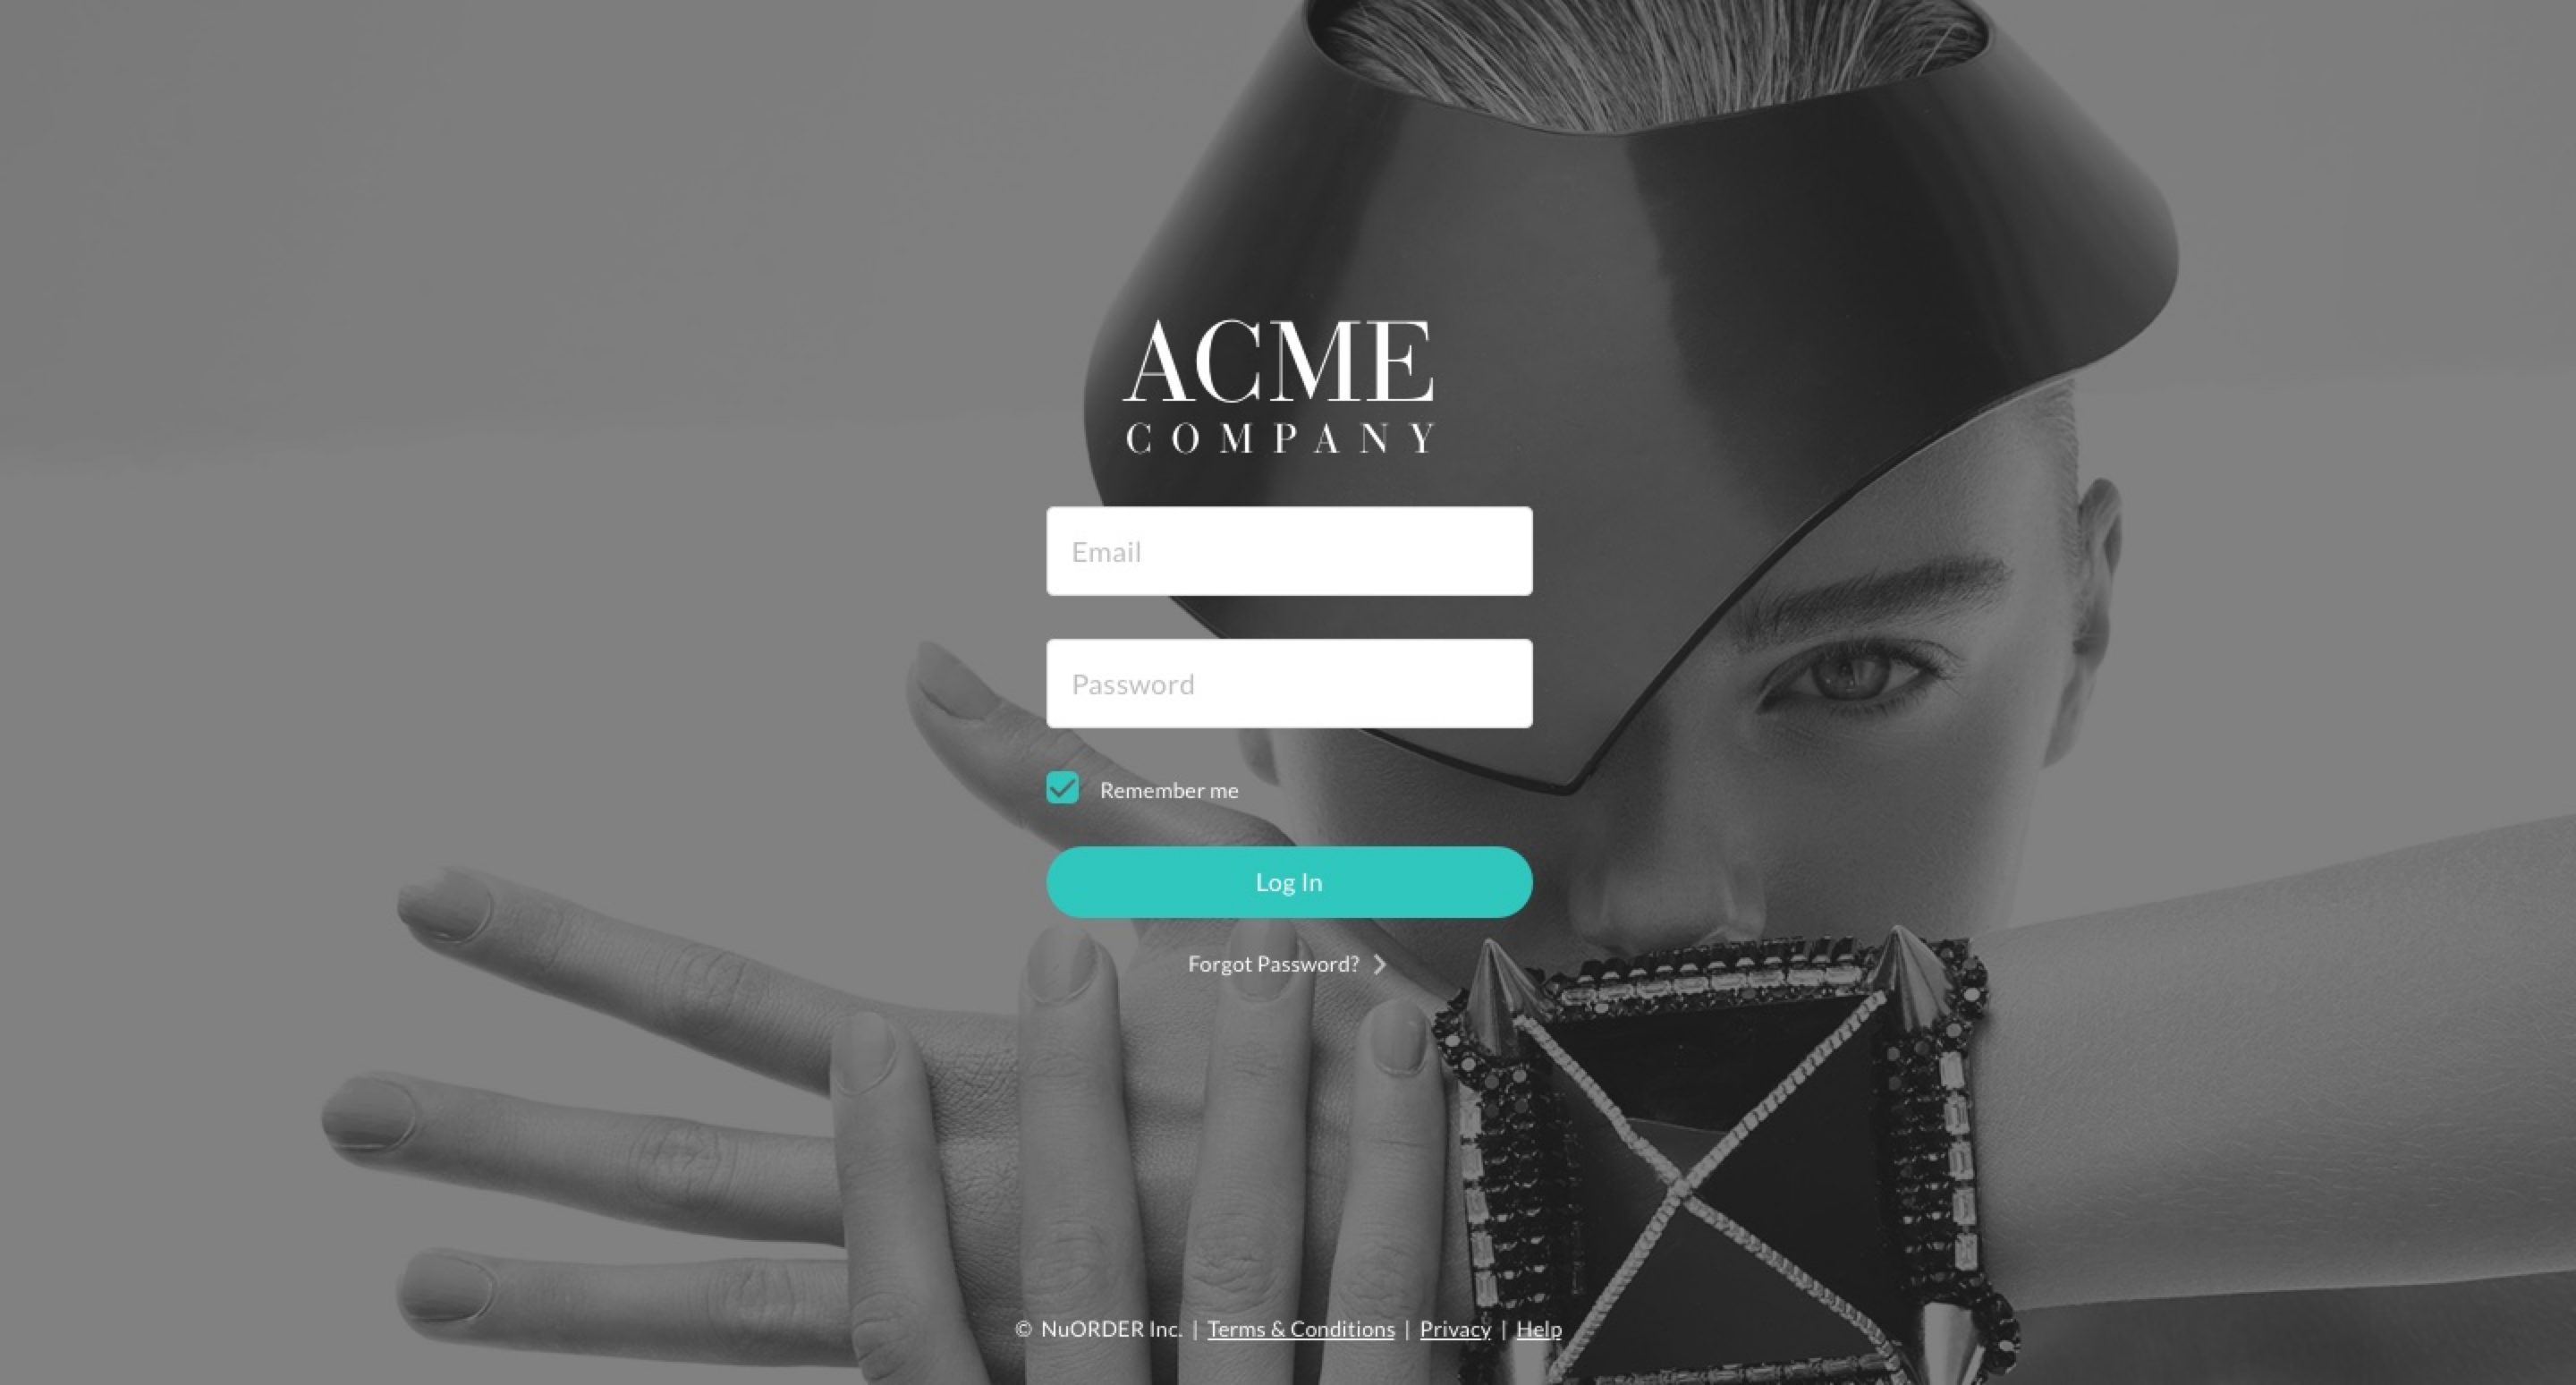
Configure the branded login page to display contact information for one or more of your sales reps. From the left navigation menu, go to Settings > Brand Admin > Settings > Brand Settings.
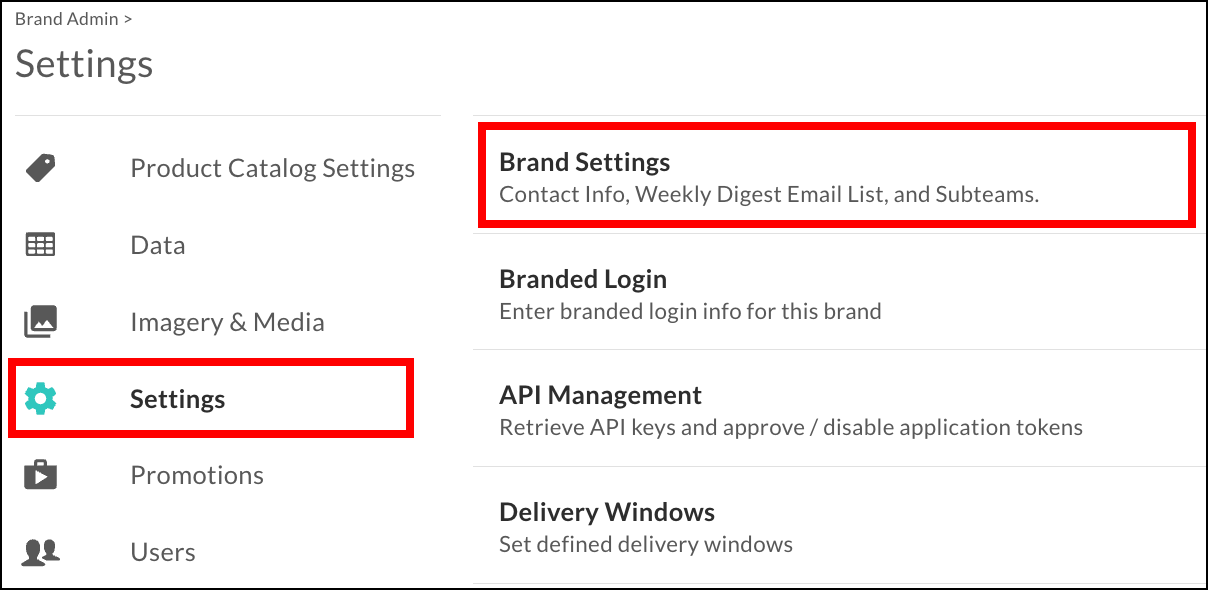
In the Sales Contact List section, select Add Contact and then enter the Name, Title, Email, and Phone to display on the branded login page. You can add multiple contacts, edit these fields, and delete contacts as needed.

When you're done, scroll to the top of the page and select Update Settings to save your changes.

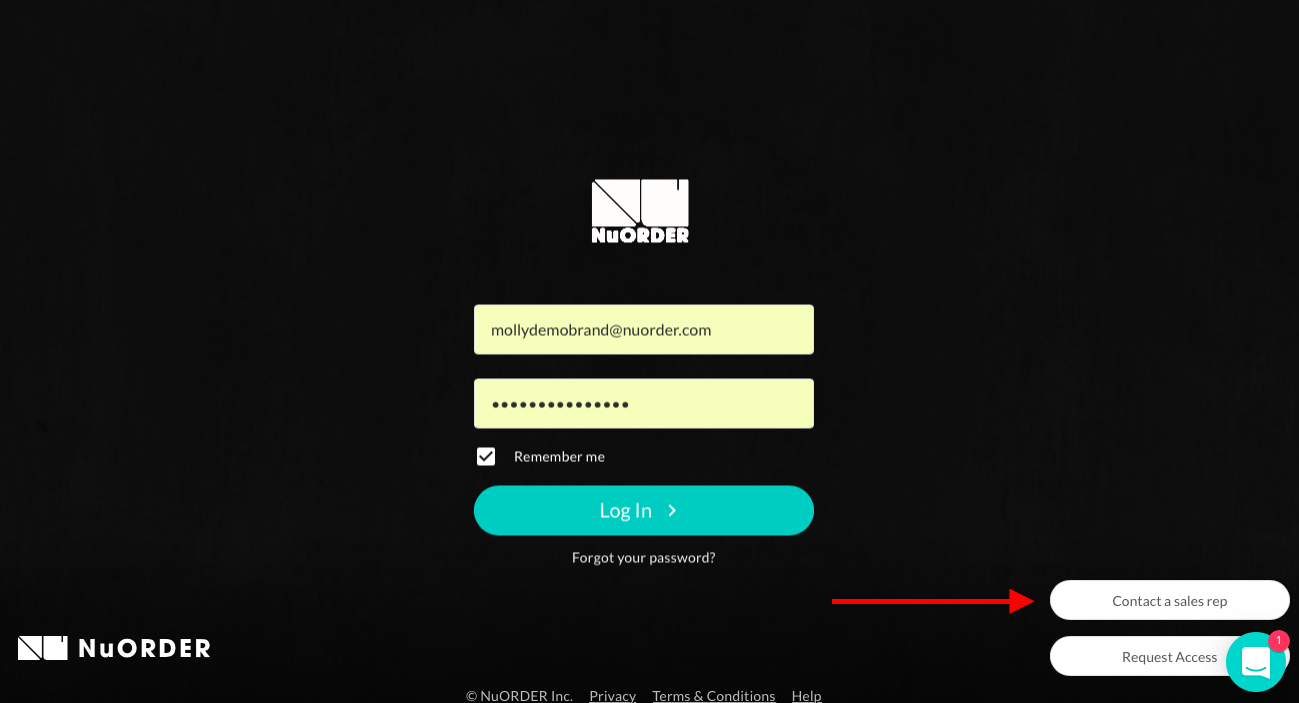
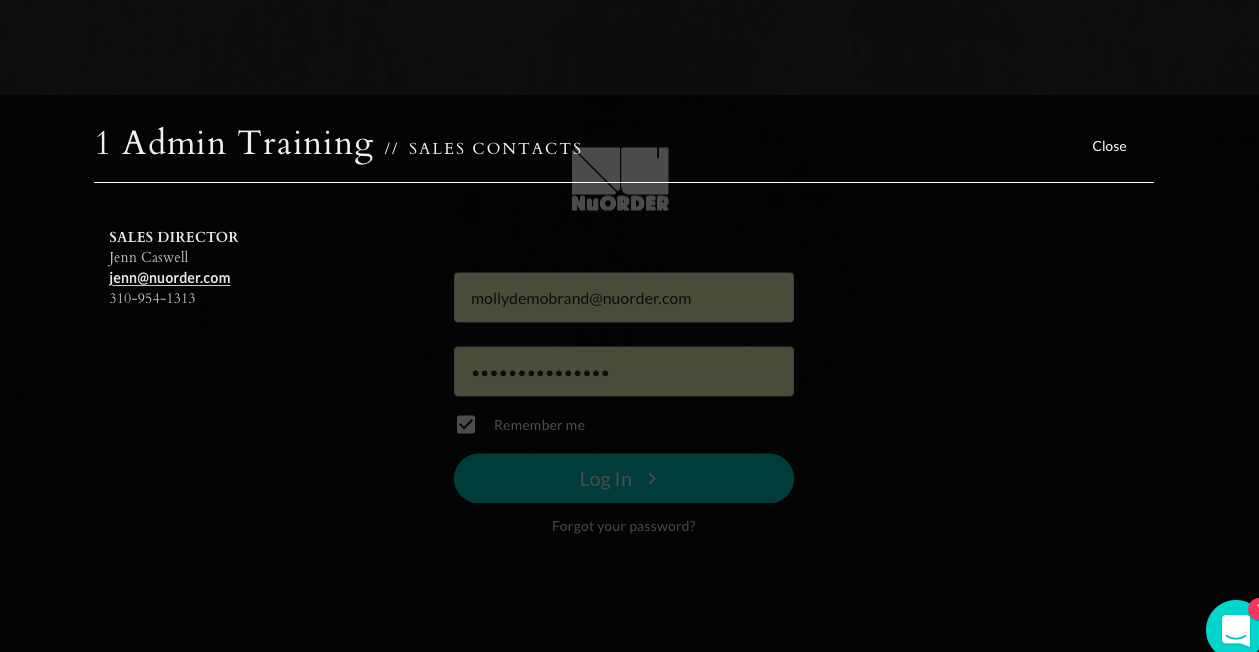
With a sales contact in place, buyers accessing your branded login page can select Contact a Sales Rep to display the contact information.
For more details about branded login pages and other portal customizations, check out Customize your portal.