Keep your Inventory Data up to date to give buyers an accurate count of current, future, and prebook availability of your products.
Inventory data in brand admin
From the left navigation menu, go to Settings > Brand Admin > Data > Inventory Data.
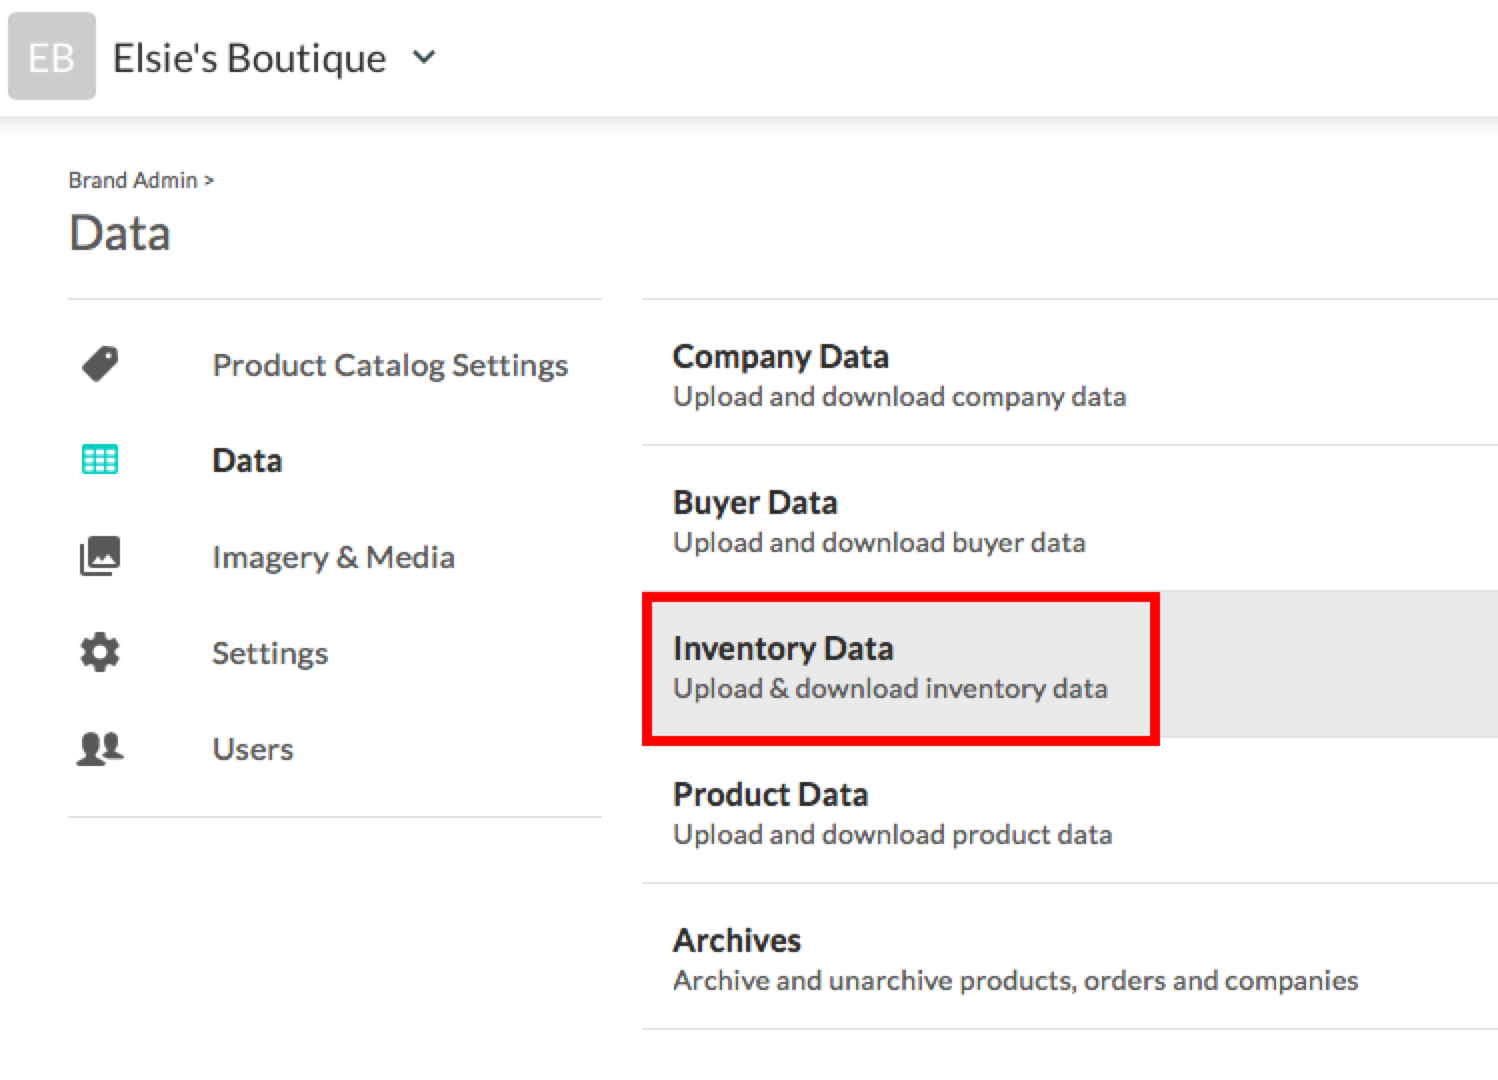
The Inventory Data page includes four sections (from top to bottom): an Upload area, Download Inventory, ATS Inventory, and Delete Inventory. Before you update and upload your Inventory Data, review these sections, because they offer important reminders and options.
Upload
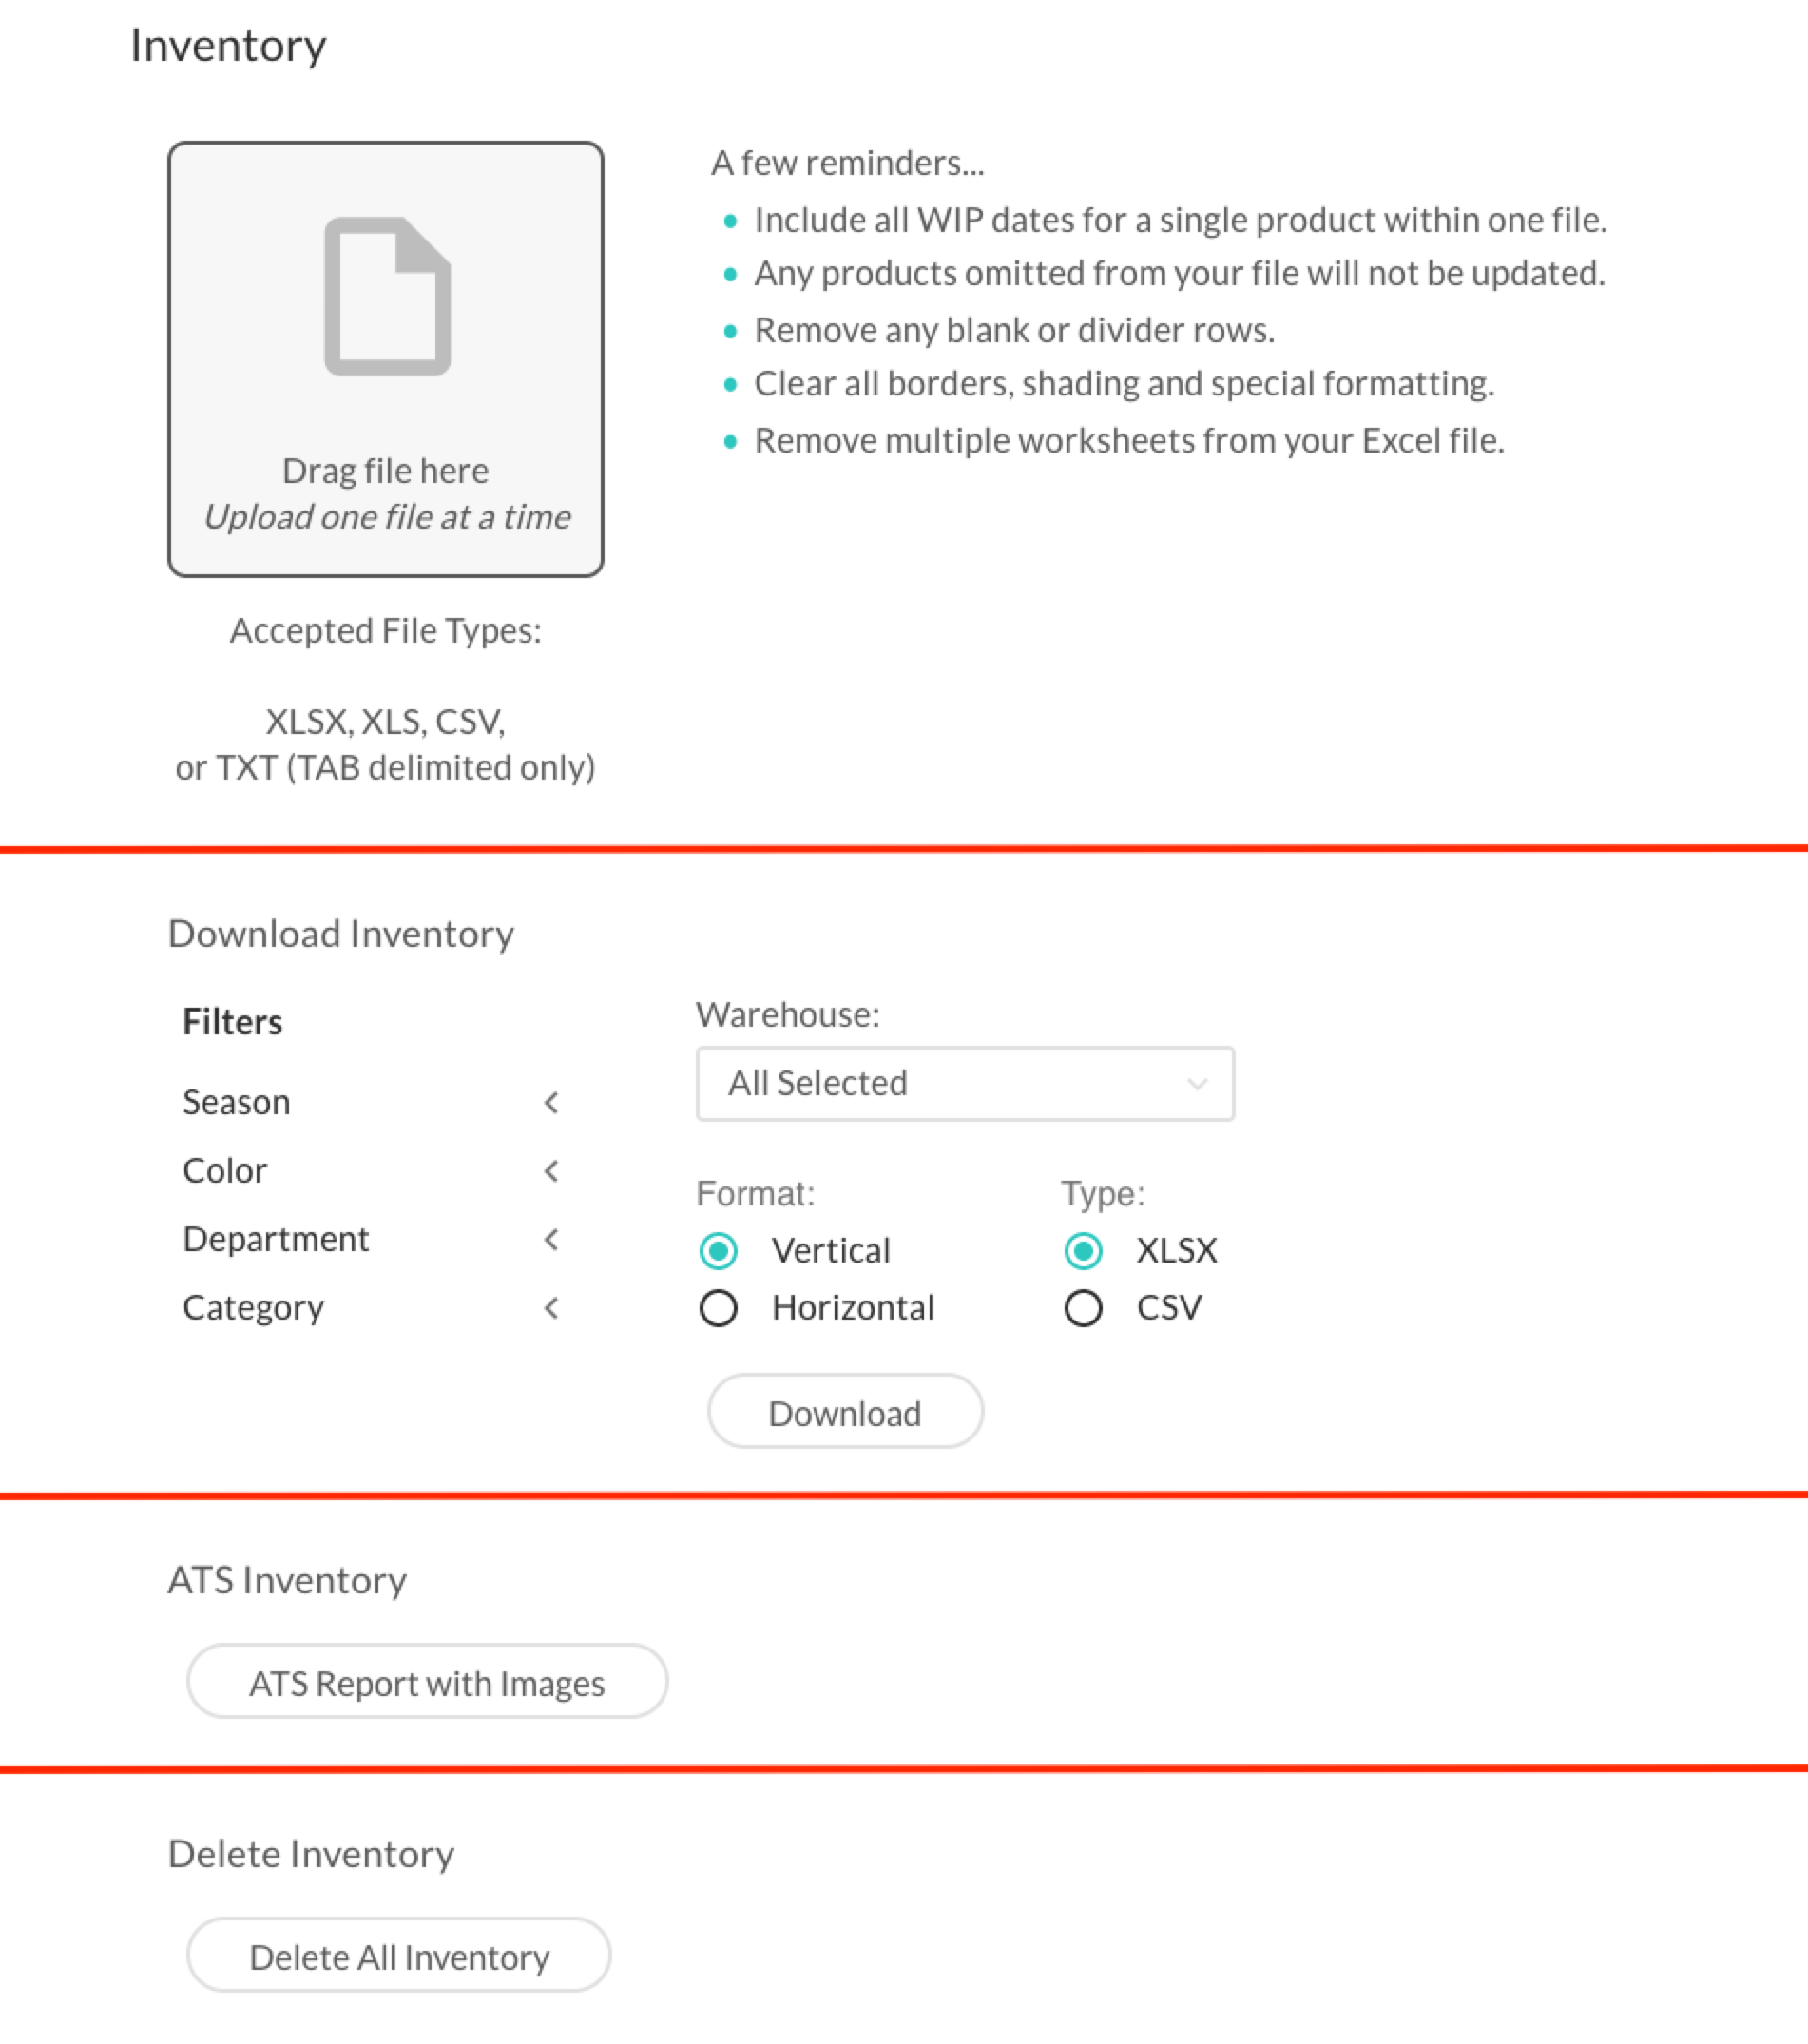
After updating your Inventory Data file, return to this section to upload it with a drag and drop.
Read through all of the provided reminders to ensure a successful upload (examples: clear all formatting, omit products with no updates, etc.). Note the listed accepted file types: XLSX, XLS, CSV, or TXT (TAB delimited only).
Download
Use this section to download your current Inventory Data file.
If you want to refine the list of products in your Inventory Data export file, use the available filters (Season, Color, Department, and Category) as well as select a Warehouse (available if your brand uses more than one). Choose the export file's Format (Vertical or Horizontal) and Type (XLSX or CSV).
When you're ready, select Download.
Open the exported spreadsheet. See the below example of an Inventory Data file.
Note: Learn about making updates to this spreadsheet with Inventory data overview.

ATS
Select ATS Report with Images to download an active ATS report of your products.
Delete
The Delete All Inventory option deletes all of the Inventory Data associated with the products in your portal.
Additional resources
See these additional resources regarding Inventory Data.