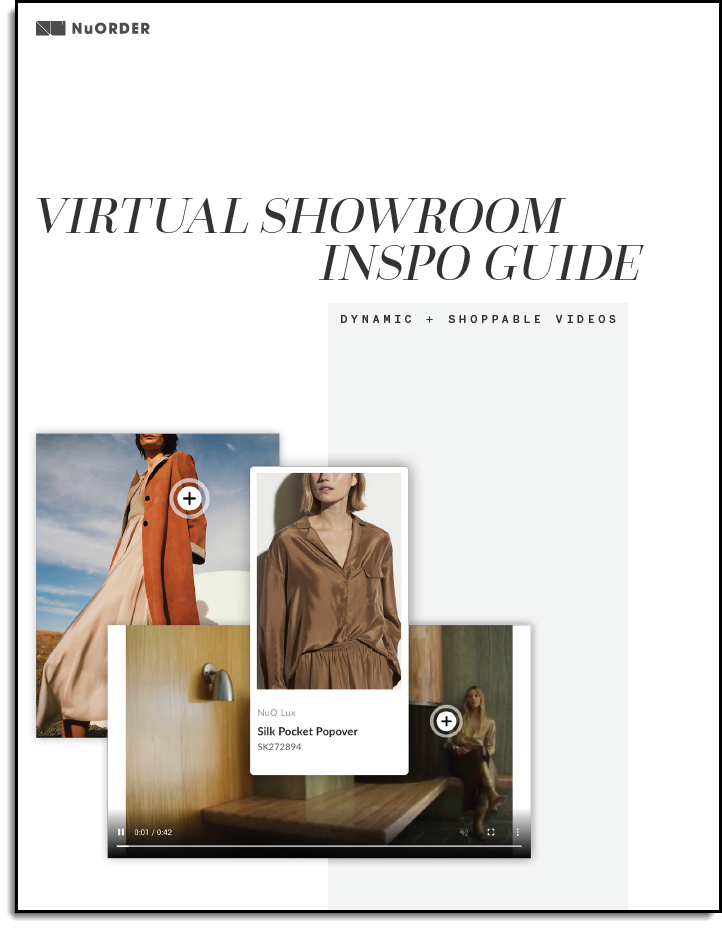
NuORDER has reimagined go-to-market with their new virtual showrooms, transforming digital linesheets into an immersive digital showroom and shopping experience with shoppable hotspots, 360-degree imagery, and videos.
A successful virtual showroom (VS) draws together all supported media to showcase the collection and its individual pieces in a rich way.
Note: Virtual showrooms are currently only available to our existing Core clients, as well as those on our Plus and Enterprise tiers.
Sites Manager
Sites Manager is where you will build and manage your brand pages, such as your Homepage and virtual showrooms. Sites Manager is also where you can view and manage the digital trade shows you are participating in.
To check out your Sites Manager, navigate to Settings > Sites Manager. Your Sites Manager should look something like this:

It is likely that you only have one, but each of the tiles on this page will represent one of your sites. You can have multiple sites for a variety of uses (e.g. Different categories, retailer exclusives, etc.).
You can see some information about each of your sites from the site tile. Click the tile to manage your site.
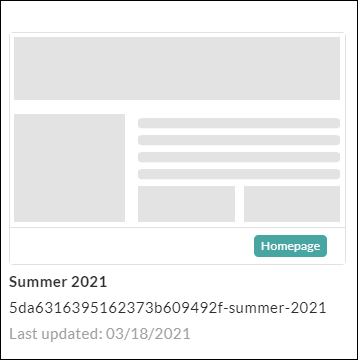
- Homepage: This tile identifies that a page within this site is set to your portal's homepage.
- Site name: An internal title to identify your site(s).
- Site URL: This identifies the suffix of the full URL for your site. This portion of your site URL is customizable.
- Last updated: Offers a date/time stamp to indicate when the site was last edited and saved.
Building blocks
The building blocks of your page(s) are Row templates, Widgets, and Widget groups. Row templates allow you to add columns to your page to sketch the layout before using widgets to add media.
To begin adding columns via row templates to your page, navigate to the Open Blocks section of your page editor.
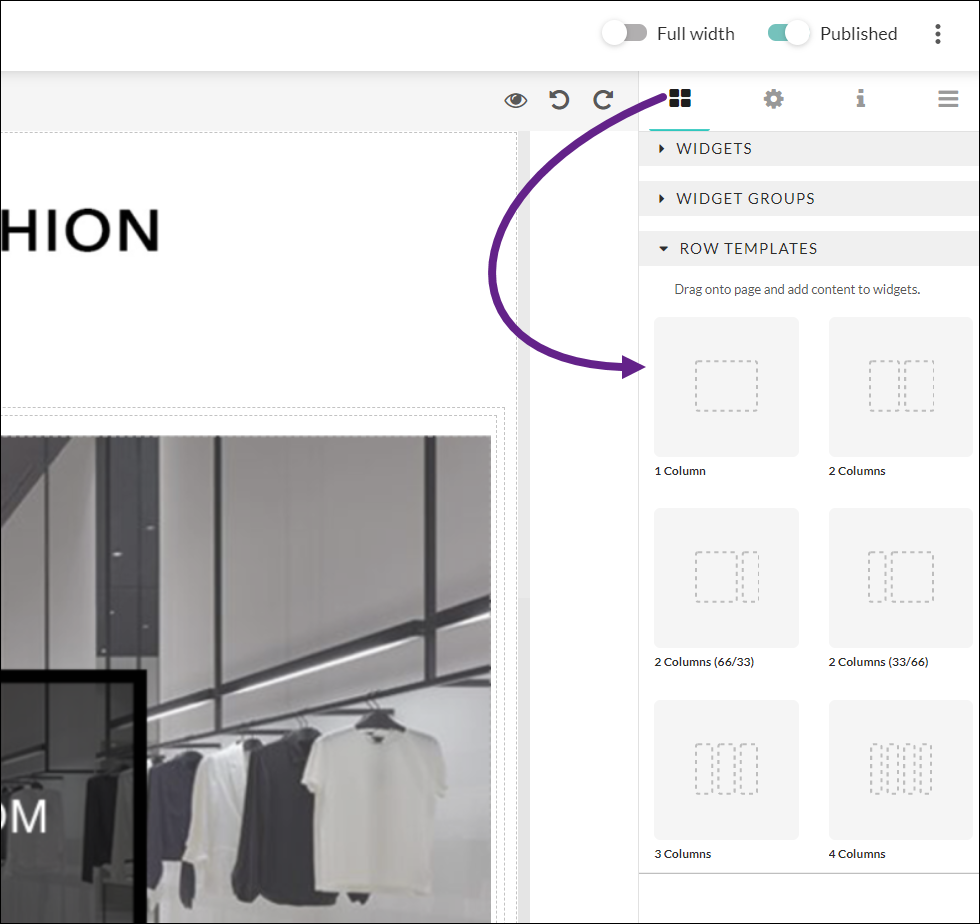
The Open blocks section allows you to add Row template, Widgets, and Widget groups.
- Widgets: The media elements of your page. A variety of widgets are available from ranging anywhere from simple text boxes to dynamic videos.
- Widget groups: This groups together several widget combinations to fill an entire row of your page.
- Row templates: Row templates allow you to sketch out the layout of your page before adding media.
Row templates
To add a Row template, drag-and-drop the template from the right-side to the area on the page where you would like your column(s).

These row templates allow you to choose the number and size of columns in a particular row.
Options include:
-
-
- 1 column
- 2 columns
- 2 columns (66/33)
- 2 columns (33/66)
- 3 columns
- 4 columns
-
Columns contain grid cells where you can drag-and-drop widgets to add media to your page.

Hotspots
-
When using shoppable hotspots in image widgets or image carousels, we recommend using caution.
-
You want to avoid adding too many hotspots as it will look too cluttered and be difficult to navigate. We suggest using strategic hotspots to call our key styles or new, specialty pieces instead of hotspotting every product in every image.
-
We recommend using the following number of hotspots based on the following image widths:
-
100% Width: 8-10 Hotspots
-
50% Width: 4-5 Hotspots
-
25% Width: 1-2 Hotspots
-
2/3 Width: 5-6 Hotspots
-
1/3 Width: 2-3 Hotspots
-
-
We also recommend not placing a hotspot too close to the margin of an image.
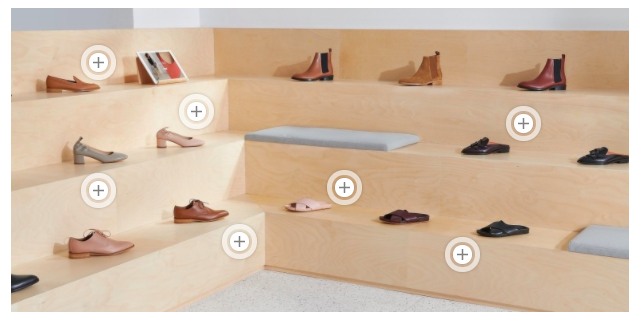
Image carousel widget
-
Using an image carousel widget allows you to display multiple images or slides within one container.
-
You can add single images one at a time or multiple images at a time. The carousel can support up to 12 slides, the user will be able to navigate through the images using arrows and the slides will loop.
-
Drag files into the grey upload box or click to select files.
-
JPG or PNG only.
-
Up to 5MB in size (recommend smaller for faster page load).
-
Best practices
-
We recommend setting your image carousel at 100% or 2/3 widths minimum for best viewing but smaller sizes are supported.
-
We recommend using images with consistent dimensions - all portrait or all landscape. Not required but gives best look.
-
It is not possible to edit the order of the carousel within the widget editor. They must be loaded in the correct order.
-
After uploading your image(s), a preview will appear in the widget manager box. From here, you can add hotspots to each individual slide the same way as explained above.
Note: You can either link an image to a URL or add hotspots, but not both.
Product widget
-
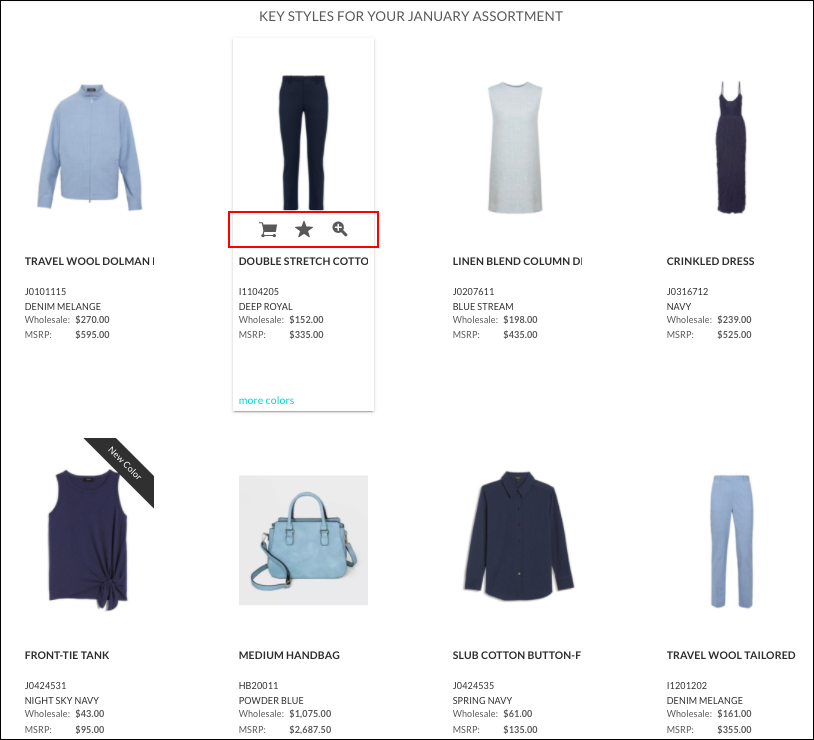
Use the product widget display pieces from your collection on your VS pages (i.e. Key Styles for February Assortment, New Styles, etc.)
-
You can add product by searching by style name, style ID, color or scroll to browse all available products.
-
Control pricing display by hiding/showing Wholesale or MSRP.
- Once product widgets are added to your page, the user can add to cart, add to list, zoom for full size, view more colors and open pull product detail page. Note: Product widgets are currently fixed to 25% width and look great in rows of 4 products.

Best Practices
- Product widgets are linked to linesheet data and any changes to those linesheets will automatically update within the hotspot.
- If a product is disabled, cancelled, or archived, the product will disappear.
Note: Product visibility controls display, not customer groups as with other widgets. We highly recommend only selecting products that are visible to all buyers on common pages.
360 image widget
-
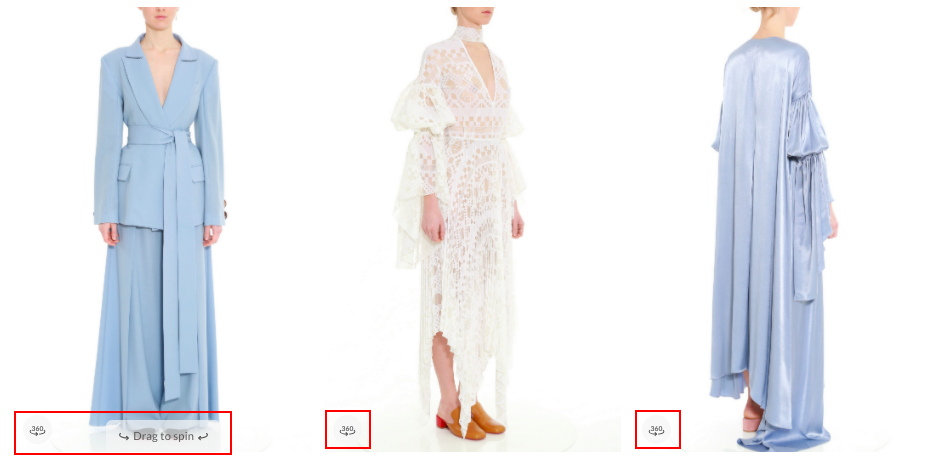
360 image widget allows the upload of 4 to 72 frames that make up one 360 rotation to see a product or look from all angles.
-
Drag a file into the grey upload box or click to select a file:
-
JPG or PNG only.
-
No MP4 or GIF, must get raw JPEGs from supplier.
-
-
The 360 spin will be generated once the images are loaded and saved.
-
The user can then click-and-drag within the container to rotate the product or look.
-
We recommend setting 360 image widgets at 1/3 width.

Best practices
-
Individual frames must be numbered sequentially (_360_1.jpg, _360_2.jpg, etc.) so the 360 spin generates in the correct order.
-
All individual frames must be the same ratio/crop to avoid display issues.
-
To Note: 360s can also be uploaded directly to the product detail page. You can only upload 1x 360 per product.
Video widget
-
Drag a file into the grey upload box or click to select a file:
-
MOV or MP4.
-
Up to 1GB per video.
-
720p resolution.
-
-
Video can be any ratio and will be rescaled based on the width of the video widget container.
-
You can add a headline (appears below) or segment visibility by customer group.
Best practices
-
Display preferences can be set by toggling on/off auto-play or on/off mute.
-
The holding image for a video is generated from the 3 second mark. It is not possible to auto-select a holding image at this time.
Text block widget
-
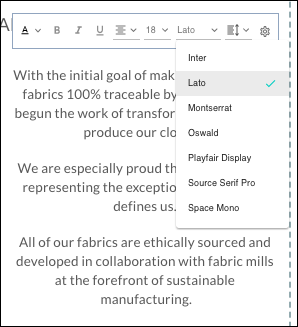
Text block widget allows customization and editing of copy including font, color, allignent, size, and the ability to bolden, italicize and underline.
-
This new widget allows you to add text directly into the platform, rather than adding text as images.
-
Supported fonts include: Inter, Lato, Montserrat, Oswald, Playfair Display, Source Serif Pro, Space Mono and Work Sans.
Best practices
-
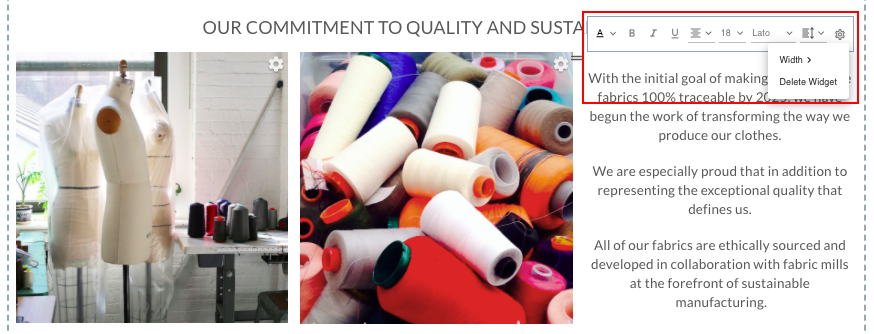
Width setting can be adjusted under the “gear” icon in the text toolbar.
-
Delete widget is also found under the “gear” icon.
-
Each line within the text widget can have different styling.
Download the Inspo Guide
Dynamic and shoppable videos offer a more personal and engaging shopping experience where buyers can add-to-cart directly from the video ⚡. Click the image below to download our Virtual Showroom Inspo guide. This guide will explore best practices for building engaging Shoppable Videos, among other Virtual Showroom elements.
